
Getting started with your Raspberry PI
The Raspberry Pi is a credit-card-sized single-board computer developed in the UK by the Raspberry Pi Foundation with the intention of promoting the teaching of basic computer science in schools
A good place to start is the Raspberry PI quick start guide This will describe the different components on the board and what they can be used for.
Downloading, installing and perparing the Raspberry PI OS
The Raspberry PI will run several different specialty prepared versions of Linux that have been compiled specifically for the Raspberry PI. The Raspberry PI team have created a image of several different compatible Raspberry PI Operating systems that can fit on a 4gb SD card. They called this image New Out of Box Software (NOOBS) and it can be downloaded from the Raspberry PI main site. The NOOBS Image makes this whole process a lot easier.
- Format your SD card using the SD Card Association"s formatting tool. https://www.sdcard.org/downloads/formatter_4/
- Download the NOOBS image file http://www.raspberrypi.org/downloads
- Unpack the NOOBS zip file onto the SD card (in to the root not a sub directory)
- Insert the SD card in to the Raspberry PI, Connect the monitor, keyboard and power.
For this tutorial we will be using the Raspbian OS. Raspbian is an unofficial port of Debian Wheezy and has been specifically modified to work with the Raspberry PI. Its also part of the NOOBS image provided by the Raspberry PI team.
- On start up you will be asked what OS you want to boot to, Select the Raspbian OS
- After the Raspbian has been installed, Your Raspberry PI should restart and display the Rasppi-Configuration screen. Select "advanced options" from the menu and change the Host name to something unique. The new hostname will not come in to effect until you restart your device.
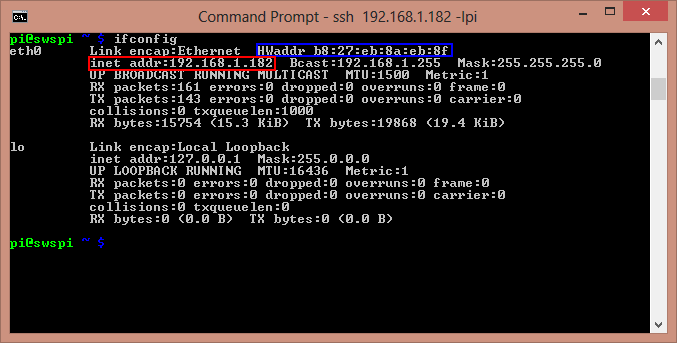
- Before restarting your Raspberry PI, write down its MAC address (HWaddr) and IP address (inet addr)
- From the terminal window type
ifconfig
- From the terminal window type
- Restart your Raspberry PI
Connecting to your Raspberry PI with SSH (running headless)
By default the Raspbian OS comes with SSH enabled. This allows us to run the Raspberry PI without a monitor or keyboard (headless) and connect to it from another computer (our laptops) remotely.
If you are on windows you can use Putty ( http://www.putty.org ) as your SSH client. MAC and Linux both have built in SSH clients.
The default username is pi and the password is raspberry
Installing the AdaFruit WebIDE
The instructions on AdaFruit’s website are straight forward with plenty of pictures.
http://learn.adafruit.com/webide/overview
Raspberry PI and the GPIO pins
More details: /raspberry-pi-and-the-gpio-pins/
Hardware
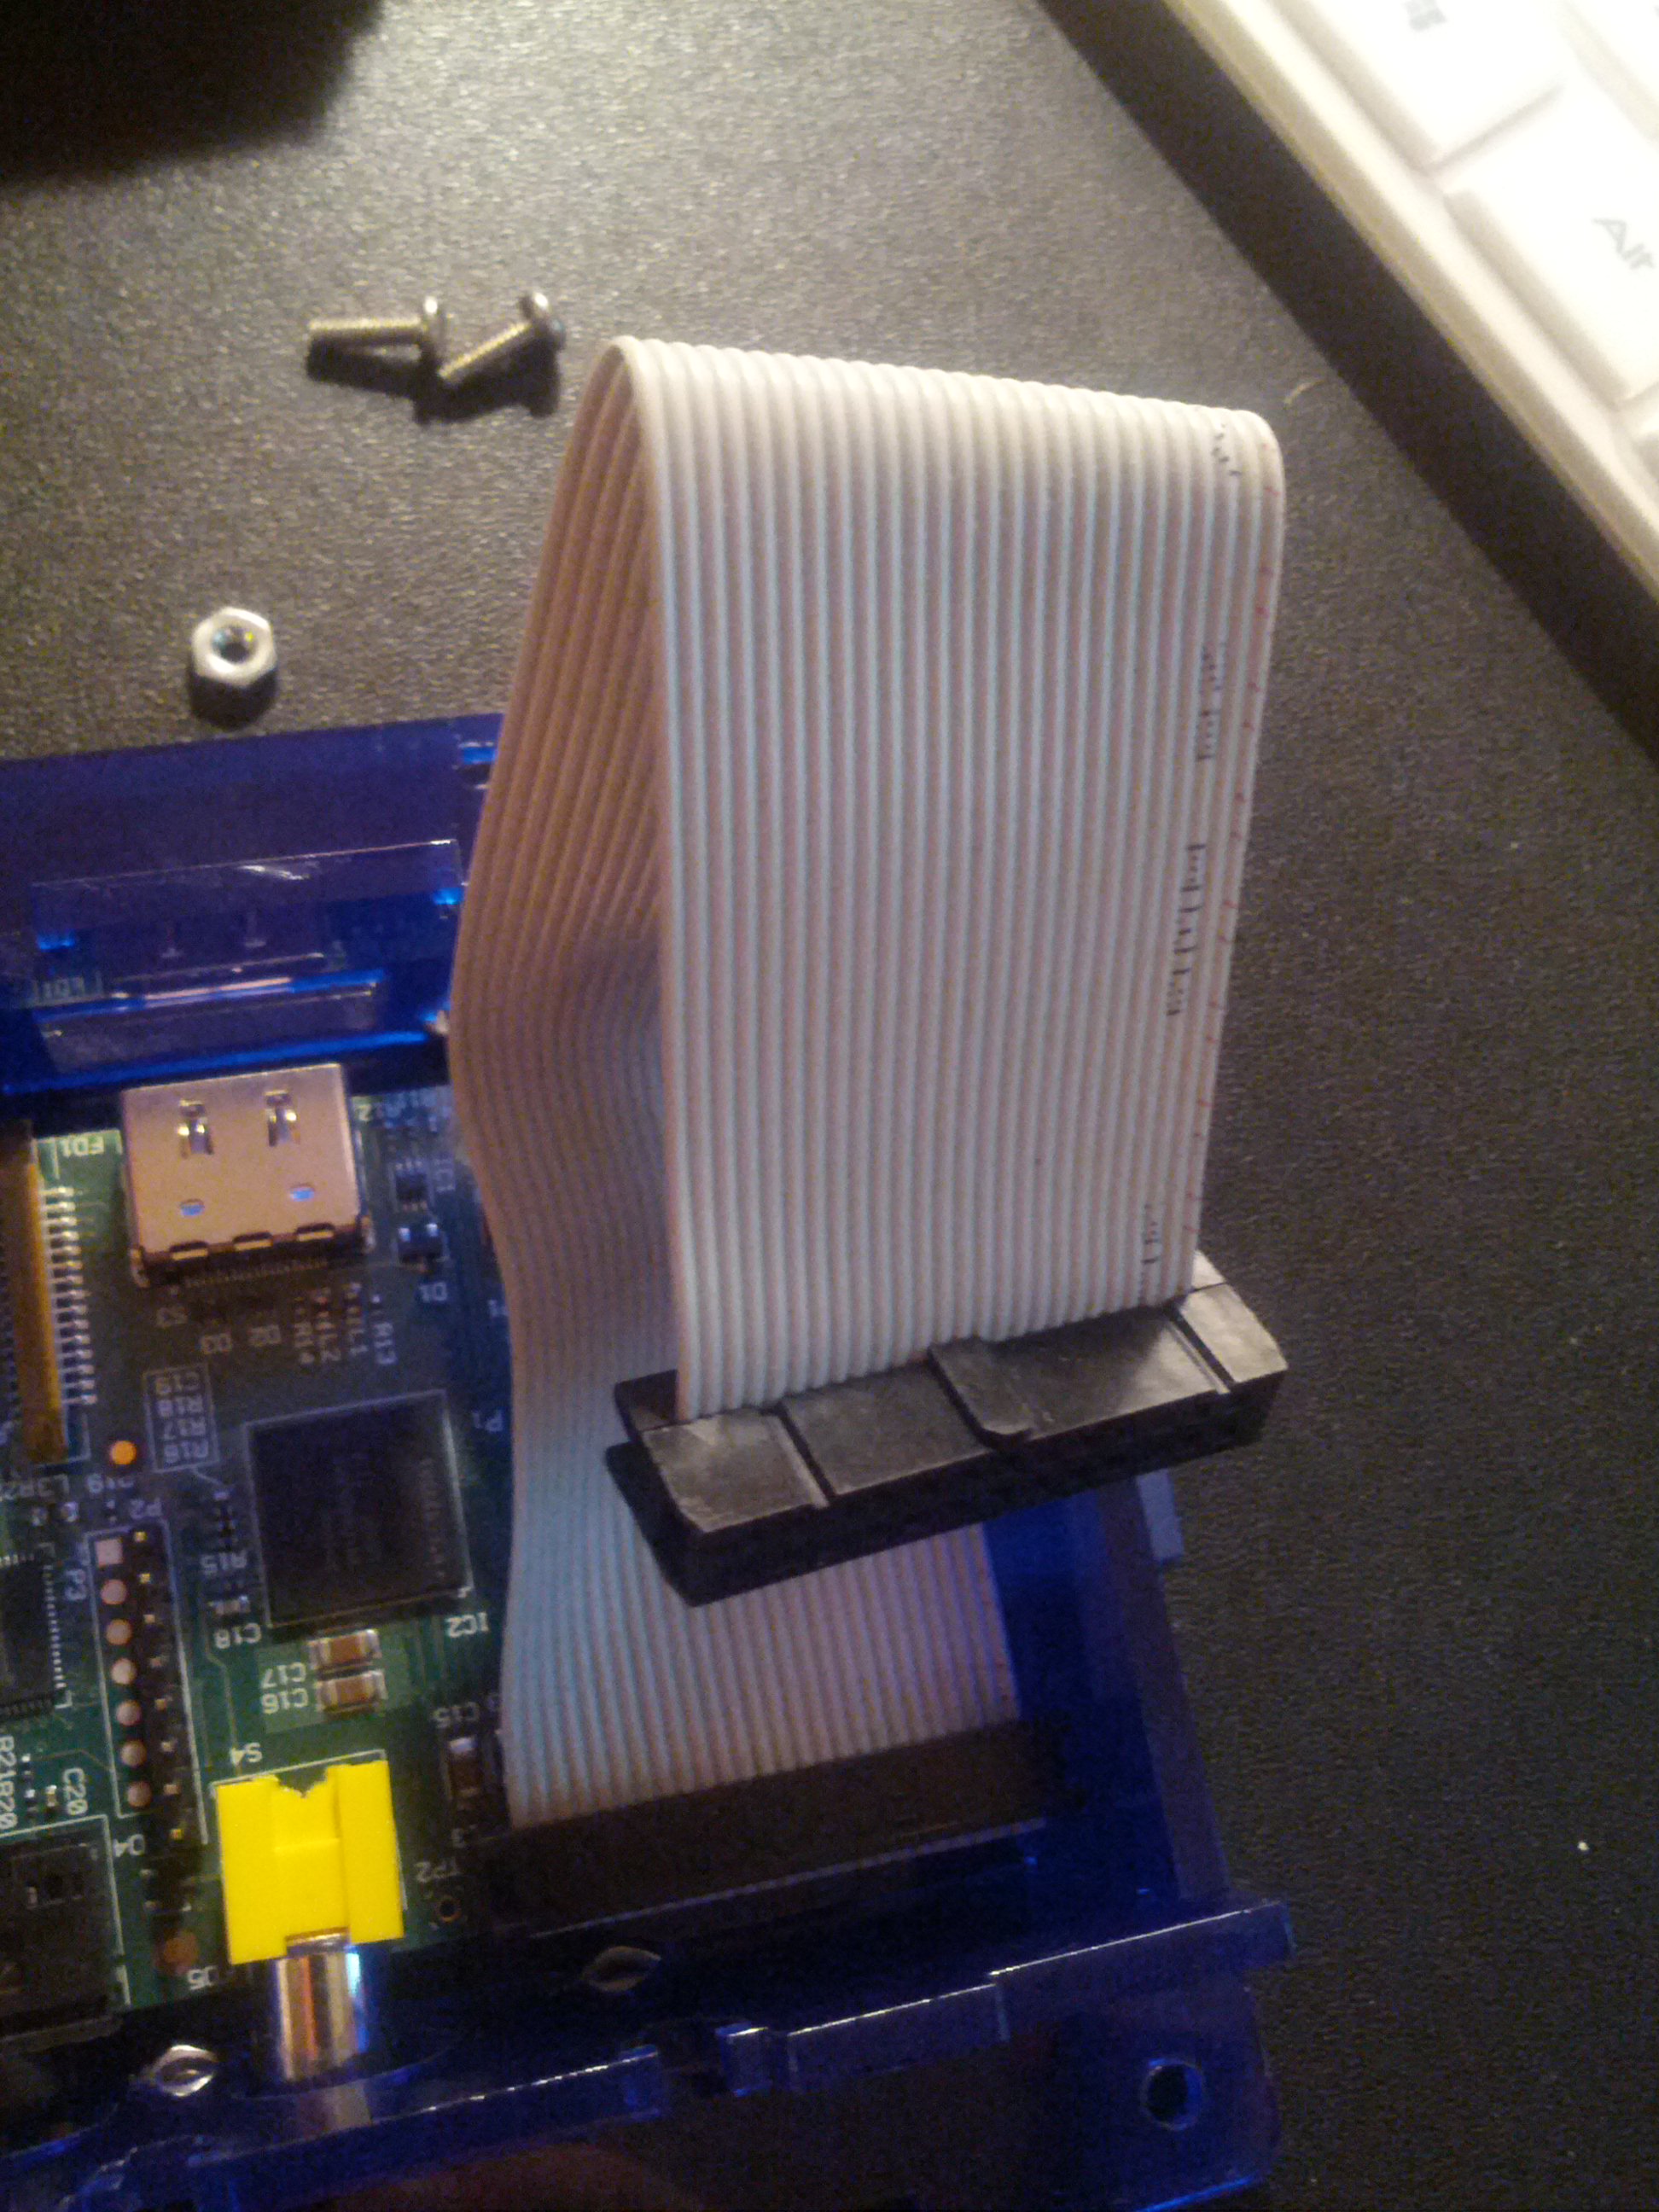 The Raspberry PI has a 26pin mail connector that connects to its GPIO pins. These ribbon cables and breakout boards can be found on adafruit.com ($2.95) and Sparkfun ($2.95)
You can also make your own. Hardware lesson with Gert: make your own ribbon cable connector.
Source code
Since I am using bitbucket all my source code is public. I created a few learning scripts to understand how the GPIO pins work on the Raspberry PI. The first script I made was a simple blinking LED, just like the arduino blinking LED script. Next was to read the current state of a switch and print the results to the screen.
This image was tremendously helpful in figuring out what pins go where
# Blinkly Script
This script will blink a LED ON and OFF again.
#
Created on Feb 2, 2013 by Steven Smethurst
Version: 1.00
#
Directions
Connect a LED between Pin 6 ( Ground) and pin 12 (GPIO18)
# from time import sleep import RPi.GPIO as GPIO
print about info
print “Blinky script, v1.0” GPIO.setmode(GPIO.BOARD) GPIO.setup(12, GPIO.OUT ) while 1: GPIO.output(12, GPIO.HIGH ) sleep(1) GPIO.output(12, GPIO.LOW ) sleep(1) </code>
Leave a comment